An Ademco alarm system is one of the most reliable home security choices for DIY homeowners and those working with professionals alike. Whether you’re protecting a modest apartment or a sprawling house, Ademco (now part of Honeywell) has built a reputation for durable, straightforward security solutions that don’t require an engineering degree to operate. This guide walks you through what Ademco systems are, how they work, what’s involved in getting one installed, and how to keep it running smoothly. If you’re serious about securing your home without unnecessary complexity, read on.
Table of Contents
ToggleKey Takeaways
- Ademco alarm systems provide reliable home security through hardwired or wireless configurations, with backward compatibility ensuring older systems continue working with newer components for decades.
- DIY installation is feasible for wireless systems (mount and pair in ~15 minutes per sensor), while hardwired Ademco systems require running 12V DC wiring but offer superior reliability without signal dropout.
- Professional monitoring services cost $15–$40/month and provide 24/7 response with typical alert handling in under 60 seconds, making them a worthwhile investment for comprehensive home protection.
- Regular maintenance—checking sensor batteries twice yearly, testing the alarm siren quarterly, and realigning sensors—keeps your Ademco system functioning optimally and prevents false alarms.
- An Ademco alarm system’s effectiveness depends on understanding key components: magnetic reed switches for doors/windows, motion detectors, control panels (like the VISTA series), keypads, and battery backup for power outages.
- Start with basic coverage (doors, windows, and a motion detector) to simplify setup and cost, then expand zones as needed once your initial system is tested and reliable.
What Is an Ademco Alarm System?
Ademco alarm systems are hardwired or wireless home security networks designed to detect unauthorized entry, monitor environmental hazards, and alert homeowners or monitoring services when something’s amiss. The core function is straightforward: sensors placed on doors, windows, and interior spaces send signals to a central control panel, which then triggers an alarm or notifies a monitoring center.
Ademco’s lineup ranges from simple do-it-yourself kits to comprehensive systems monitored 24/7 by professionals. What makes Ademco stand out is backward compatibility, older systems still work with newer components, and the equipment tends to last. Many homeowners who installed Ademco systems 10 or 15 years ago still have them running today, which speaks to durability over flashy features.
You’ll encounter two main types: hardwired systems, which connect to your home’s electrical wiring and phone line (or internet), and wireless systems, which use radio signals between sensors and the panel. Neither requires a degree in electronics, both follow basic install-and-connect logic. The choice between them usually comes down to your home’s age, existing wiring, and budget.
Key Features and Components to Know
An Ademco system’s effectiveness depends on understanding what each component does. You’ll need sensors on all entry points, doors and windows typically use magnetic reed switches that trigger when the door or window opens. Some systems also include motion detectors (passive infrared sensors) that catch movement in hallways, basements, or garages. The control panel is the brain: it monitors all sensors, arms or disarms the system, and decides whether to sound a local alarm or contact your monitoring service.
Keypads let you arm and disarm the system using a PIN code. Modern Ademco systems support keypads with displays showing system status, entry/exit delays, and alert history. A siren or horn (typically 85–110 decibels) serves as the audible deterrent when triggered. Battery backup is essential, even in a power outage, your system keeps running for 24–48 hours, giving you time to respond or for help to arrive.
Many newer Ademco systems integrate with smartphones via apps, letting you check status remotely, though this requires internet connectivity and a compatible control panel. Door and window sensors cost $15–$50 each, motion detectors run $30–$80, and keypads range from $50–$150 depending on features.
Control Panels and User Interface
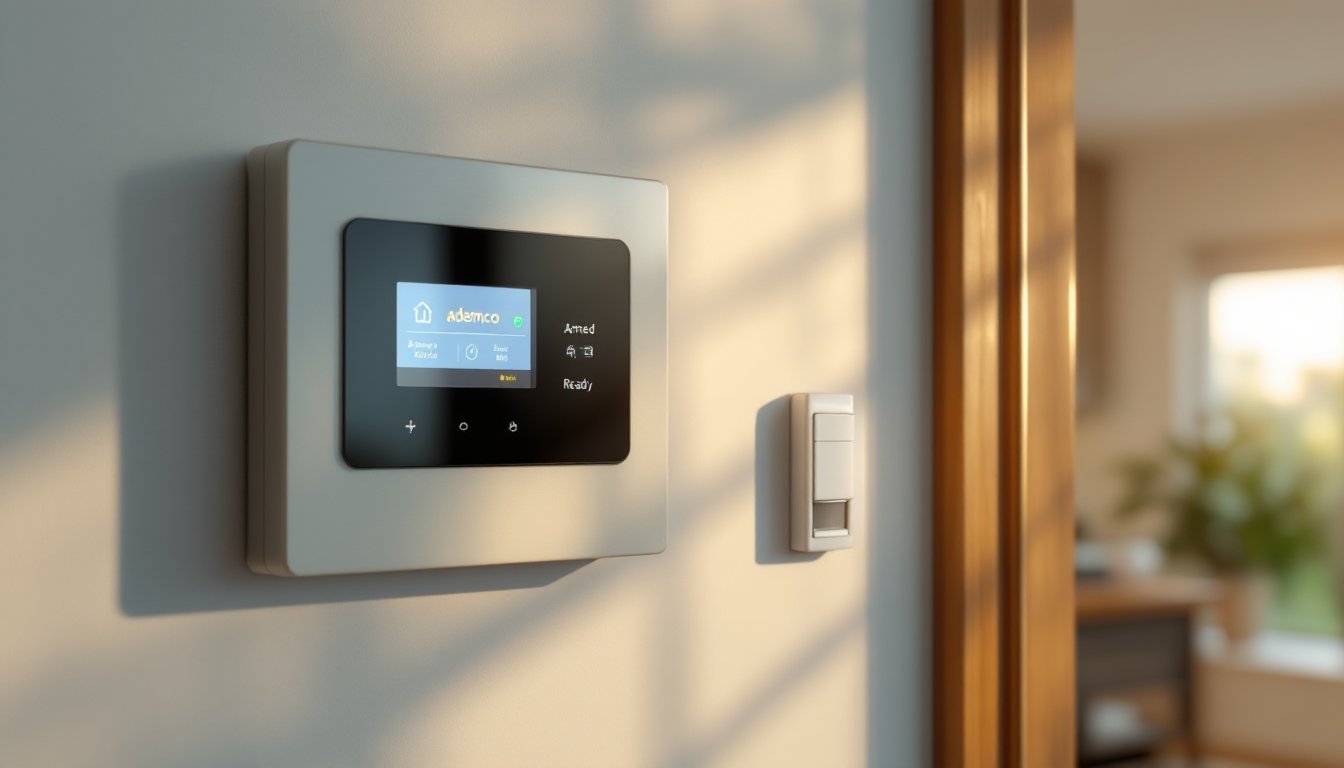
The control panel is where all decisions happen. Ademco’s VISTA series panels are among the most popular for residential use, they’re reliable, easy to program, and support both hardwired and wireless sensors. The panel displays the system state (armed, disarmed, fault), zone status (which doors/windows are secure), and any alerts. Older panels used LED indicators: newer ones have small LCD screens showing text messages and entry codes used.
Programming a panel requires entering installer mode, this is where a PIN code (often a master code you set) unlocks setup menus. If you’re not comfortable with this, a professional installer should handle it, but for basic operations like arming and disarming, a homeowner-friendly keypad PIN is all you need daily. Most DIY-friendly systems come with checklists and diagrams: follow them step-by-step before powering on.
Installation Basics for DIY Homeowners
Installing an Ademco system yourself is feasible if you’re comfortable with basic wiring and following instructions, but know when to call a pro. Hardwired systems require running 12V DC wiring through walls to each sensor and back to the panel: this is more involved than wireless and may need wall drilling, stud work, and careful wire routing. Wireless systems are simpler: you mount sensors, pair them to the panel, and you’re largely done.
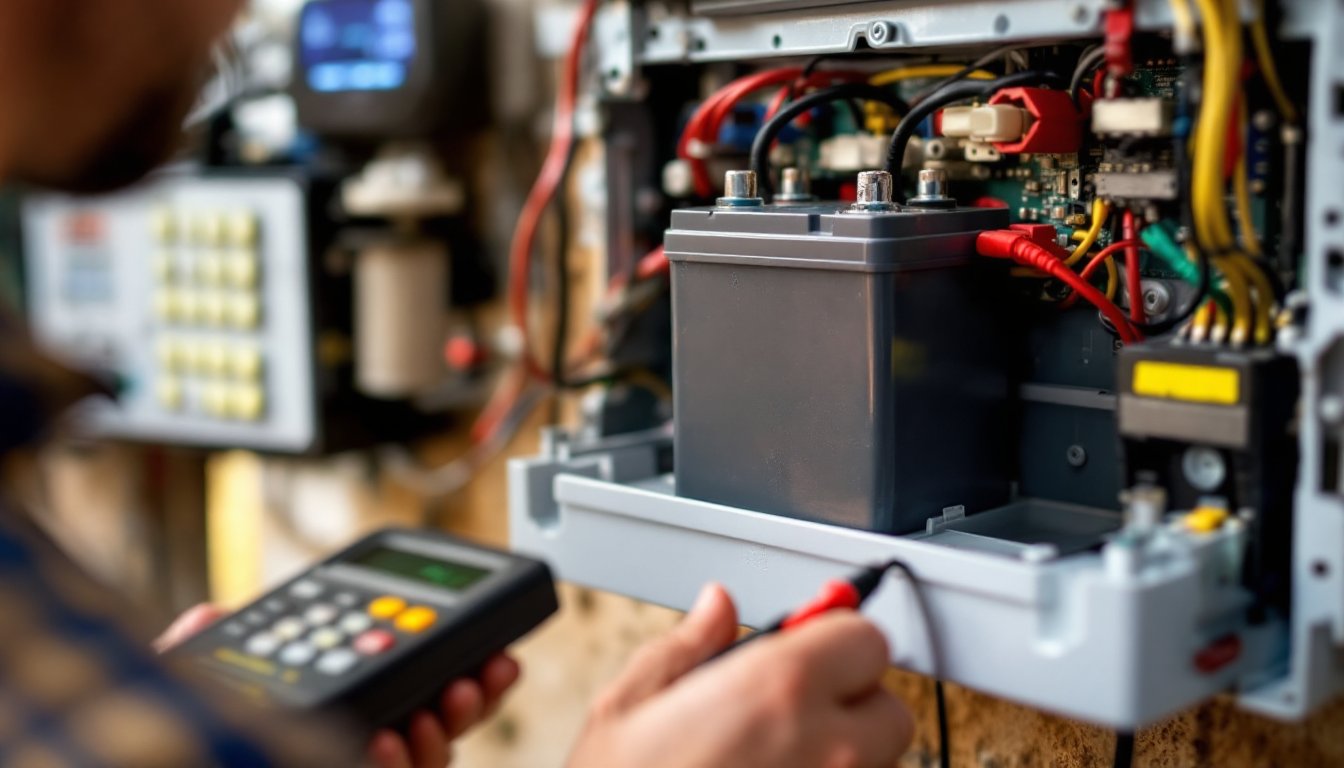
For hardwired installation, start by planning your layout. Sketch which doors and windows get sensors, where the panel will mount (usually near the main entry, within reach), and where wiring runs. You’ll need 22-gauge alarm wire (cheap, available at any hardware store), wirenut connectors, a drill, and a voltage tester (critical for safety). Turn off power at the breaker before working near electrical systems. Run wiring through walls, behind baseboards, or under carpets, avoid routes that can be damaged by foot traffic.
Connect each sensor in a series loop: wire from panel to sensor 1, then to sensor 2, and so on, finally returning to the panel. This creates a continuous circuit. If any wire or sensor fails, the panel detects it. Hardwired systems are more reliable than wireless because they can’t drop signal, but they demand patience and neatness.
For wireless systems, the heavy lifting is mount and pair. Use adhesive strips or small bracket screws to place door/window sensors near the frame. Motion detectors go in corners where they see the room but avoid direct sunlight and heat sources (pets, radiators). The panel uses a built-in receiver, just enroll each sensor using the panel’s menu. This takes 15 minutes per sensor, no tools beyond a screwdriver for mounting.
Before powering the panel, test all sensors. Open and close each door/window, walk past motion detectors, and confirm the panel registers the signal. Once live, run the system in test mode for a few days, don’t arm it fully until you’ve confirmed every zone works. If a door or motion detector won’t communicate, check battery (for wireless) or wiring (for hardwired), and reseat connections.
A second pair of hands helps, especially for hardwired work: one person can test a sensor while another watches the panel. For structural concerns, running wiring through load-bearing walls or near electrical panels, hire a licensed electrician. Many municipalities require permits for home security work: check your local building department before starting.
Monitoring Options and Professional Support
After installation, you have choices: self-monitoring (you respond to alerts), professional monitoring (a service center contacts authorities), or a hybrid. Self-monitoring is cheapest, no monthly fees, but you must respond 24/7, including when you’re asleep, away, or at the beach. Professional monitoring typically costs $15–$40/month and is worth the investment if you want peace of mind.
Ademco integrates with major monitoring centers. Once your panel is connected via internet or a phone line, the monitoring service receives alerts and follows your action plan: call you first, call police, contact a neighbor, or any combination. Response times are fast, usually under 60 seconds. Some monitoring services also provide app notifications so you see alerts on your phone in real time.
If you’re considering a local alarm installation, Local Alarm Installation: Secure can connect you with certified installers in your area who handle full setup and monitoring enrollment. This removes guesswork and ensures your system complies with local codes.
For internet-connected systems, use a strong Wi-Fi network or hardwired ethernet to the panel. Avoid sharing alarm bandwidth with streaming services or gaming, dedicate at least 0.5 Mbps upload speed to the alarm connection. Most panels log all events (every armed/disarmed action, every sensor trigger) in local memory, so you can review history even if internet drops temporarily.
Maintenance and Troubleshooting Tips
Maintenance is minimal if you stay on top of basics. Check sensor batteries twice a year, many sensors use AA or 9V batteries lasting 2–5 years depending on wireless signal strength. Replace before they die: a dead battery silences a sensor, leaving a gap in coverage. Test the alarm siren quarterly: press the panic button on your keypad for 5 seconds to confirm it works. If the siren is silent or weak, it may need replacement, sirens cost $20–$80 and take 10 minutes to swap.
Keep the control panel away from heat, humidity, and direct sunlight. If your panel is in a garage or basement, ensure it’s not exposed to condensation or flooding. Dust the panel and keypad annually with a soft, dry cloth. Don’t spray cleaner directly on electronics.
Common issues: False alarms usually mean a sensor is misaligned or the door/window isn’t closing properly. Realign the sensor on the frame, ensuring a 1/4-inch gap max between magnet and reed switch. If a zone shows “open” on the display but the door is clearly shut, the sensor contact is dirty or corroded, gently clean the magnet with a pencil eraser.
Panel doesn’t power on: Check that the transformer is plugged in and the breaker is on. If the panel has a backup battery, it may be dead, look for a yellow light or low-battery warning. Replace the battery (usually a 12V rechargeable pack, $30–$60) or have a professional do it.
System won’t arm: The panel detects an open zone. Walk through the house and confirm all doors and windows are closed. If a sensor is misaligned or broken, the panel stays in ready mode and won’t arm fully. Once all zones are secure, arm should succeed.
If troubleshooting doesn’t help, contact your monitoring service or a certified Ademco technician. Many issues are simple (dead battery, loose wire), but some require specialized tools or programming knowledge. References like Good Housekeeping’s product testing and Digital Trends’ home security reviews provide comparisons of systems and professional install services in your region.
Conclusion
An Ademco alarm system offers a straightforward, durable foundation for home security. Whether you opt for DIY installation or professional setup, understand your components, test thoroughly before relying on the system, and maintain it consistently. Hardwired systems demand more effort upfront but reward you with rock-solid reliability: wireless systems are faster to install but require battery vigilance. Pair your system with professional monitoring for comprehensive protection. Start simple, doors, windows, and a motion detector, then expand as needed. Your home’s security is worth the effort.