Self-monitoring alarm systems put security control directly in your hands. Instead of paying a professional monitoring service to watch your home 24/7, you receive alerts on your phone and decide how to respond. These systems have become increasingly affordable and user-friendly, making them a practical choice for homeowners who want flexibility and lower monthly costs. Whether you’re protecting a rental, a cottage, or your primary residence, a self-monitoring alarm system offers peace of mind without the long-term contracts and service fees that traditional monitored systems demand.
Table of Contents
ToggleKey Takeaways
- A self-monitoring alarm system eliminates $300–$600 annual professional monitoring fees while keeping security control directly in your hands through smartphone alerts and real-time notifications.
- Complete self-monitoring systems cost $200–$800 upfront with minimal monthly fees, requiring essential components including a control hub, entry sensors, motion detectors, and ideally security cameras for visual verification.
- Proper installation and monthly sensor testing are critical—mount entry sensors with precise alignment, place motion detectors at 5–6 feet high, and perform full system tests to avoid false alarms and security gaps.
- Self-monitoring works best if you’re frequently home, check alerts consistently, and can make quick decisions about contacting police; professional monitoring remains better for frequent travelers or jurisdictions that require monitored systems.
- Layered security combining your self-monitoring alarm system with locked doors, reinforced frames, and regular footage reviews maximizes protection and helps you identify genuine threats.
What Is a Self-Monitoring Alarm System?
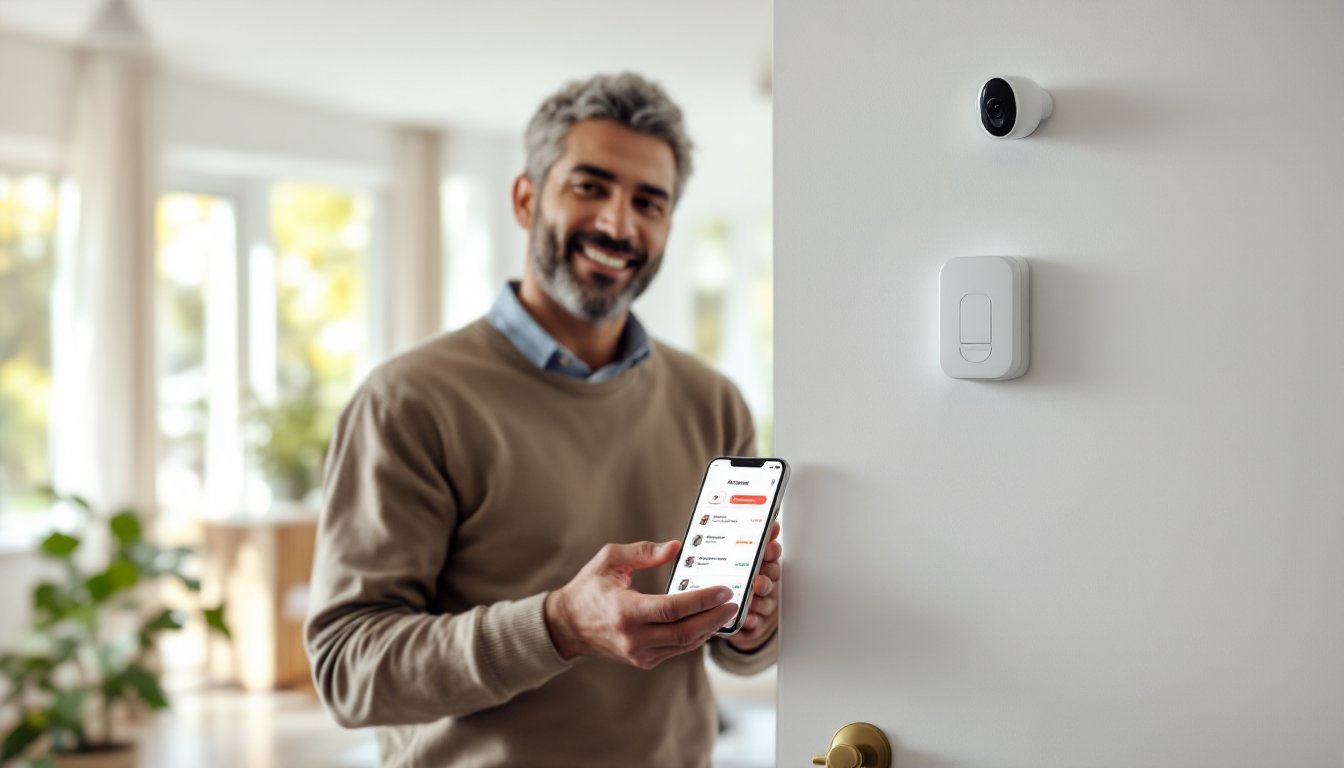
A self-monitoring alarm system detects intrusions, fires, or environmental hazards and sends real-time alerts directly to your smartphone, tablet, or computer instead of routing them through a professional monitoring center. When a sensor is triggered, say, a door opens or motion is detected, the system sends you a notification, and you decide whether to contact police, check your security cameras, or disarm the alarm.
These systems differ fundamentally from professionally monitored alarms. With professional monitoring, you pay a monthly fee (typically $25–$50) and a trained operator responds to alerts on your behalf. With self-monitoring, you’re the operator, which means lower recurring costs but higher personal responsibility. Most self-monitoring systems use cloud-based apps and cellular or internet connectivity to deliver alerts, so you stay informed even when you’re away from home.
Key Advantages of Self-Monitoring Your Home Security
The primary benefit is cost. You’ll skip the $300–$600 annual professional monitoring fee, which adds up fast over a decade of homeownership. Self-monitoring systems typically cost $200–$800 upfront and have little to no monthly subscription charges (though some offer premium cloud storage or advanced features for $5–$15/month).
Flexibility is another major win. You control your alerts and response protocols without waiting for a call center operator. Want to arm the system for a period while you’re home? Done. Need to review camera footage from 3 a.m.? The app is always open. You can also customize which sensors trigger notifications and adjust sensitivity based on your routine.
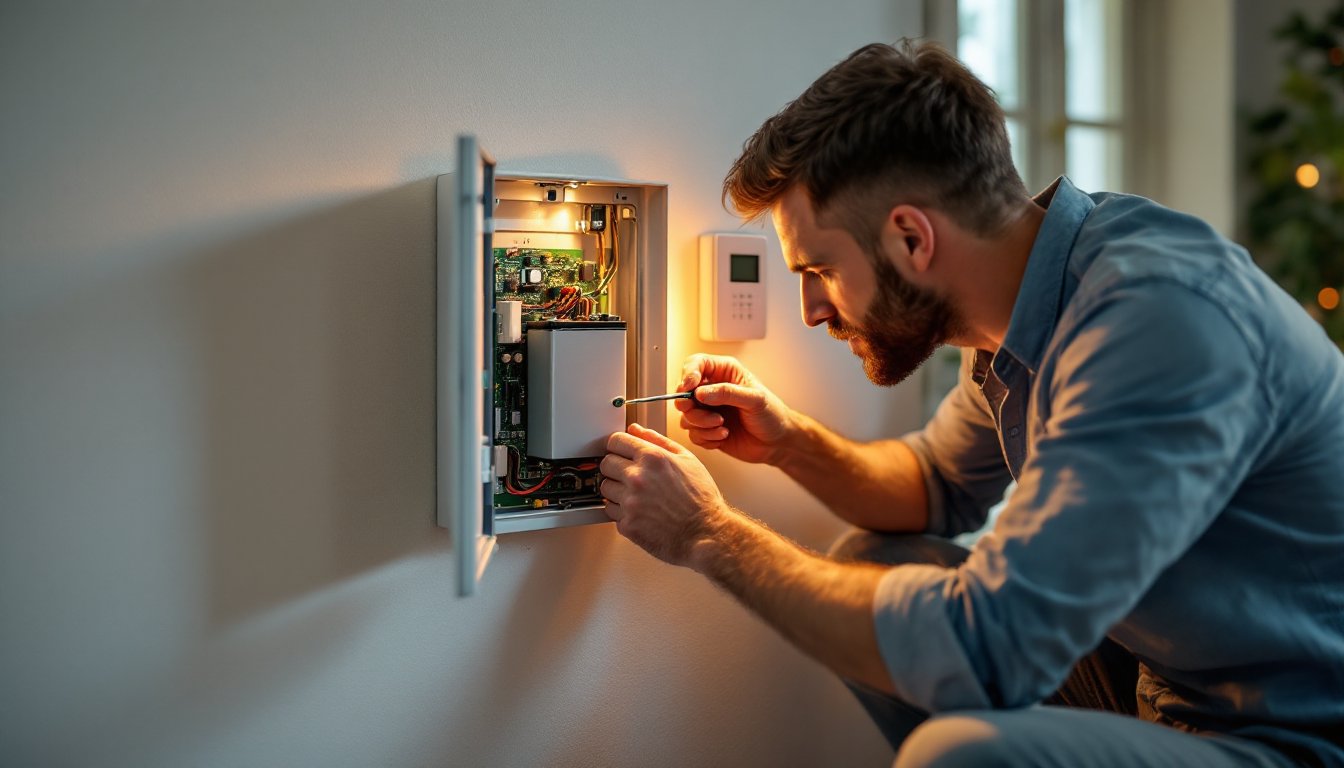
Ease of installation rounds out the picture. Most self-monitoring systems are wireless or use existing wiring, meaning you avoid the disruption and cost of a technician visit. Many homeowners install them in an afternoon using simple tools and the manufacturer’s app-based guidance.
Essential Components You’ll Need
A complete self-monitoring system includes a control hub (the “brain”), entry sensors, motion detectors, and a mobile app. Here’s what to source:
Control Hub
This device connects to your Wi-Fi and cellular network, stores system configuration, and processes alerts. Popular hubs are Amazon Ring Alarm Pro and Wyze Home Monitoring, though many systems offer basic hubs at $50–$150.
Entry Sensors (Door/Window)
These magnetic reed sensors trigger when a door or window opens. Plan one sensor per exterior door and key windows. Cost: $10–$25 each.
Motion Detectors
Passive infrared (PIR) sensors detect body heat movement. Standard placement: hallways, living areas, and entryways. Expect $20–$50 per unit.
Security Cameras (Optional but Recommended)
Wireless IP cameras let you verify alerts visually. Budget $50–$200 per camera depending on resolution and night-vision capability.
Siren or Speaker
A loud alarm (85–110 dB) deters intruders and alerts you inside the home. Many hubs have built-in speakers: standalone sirens run $20–$80.
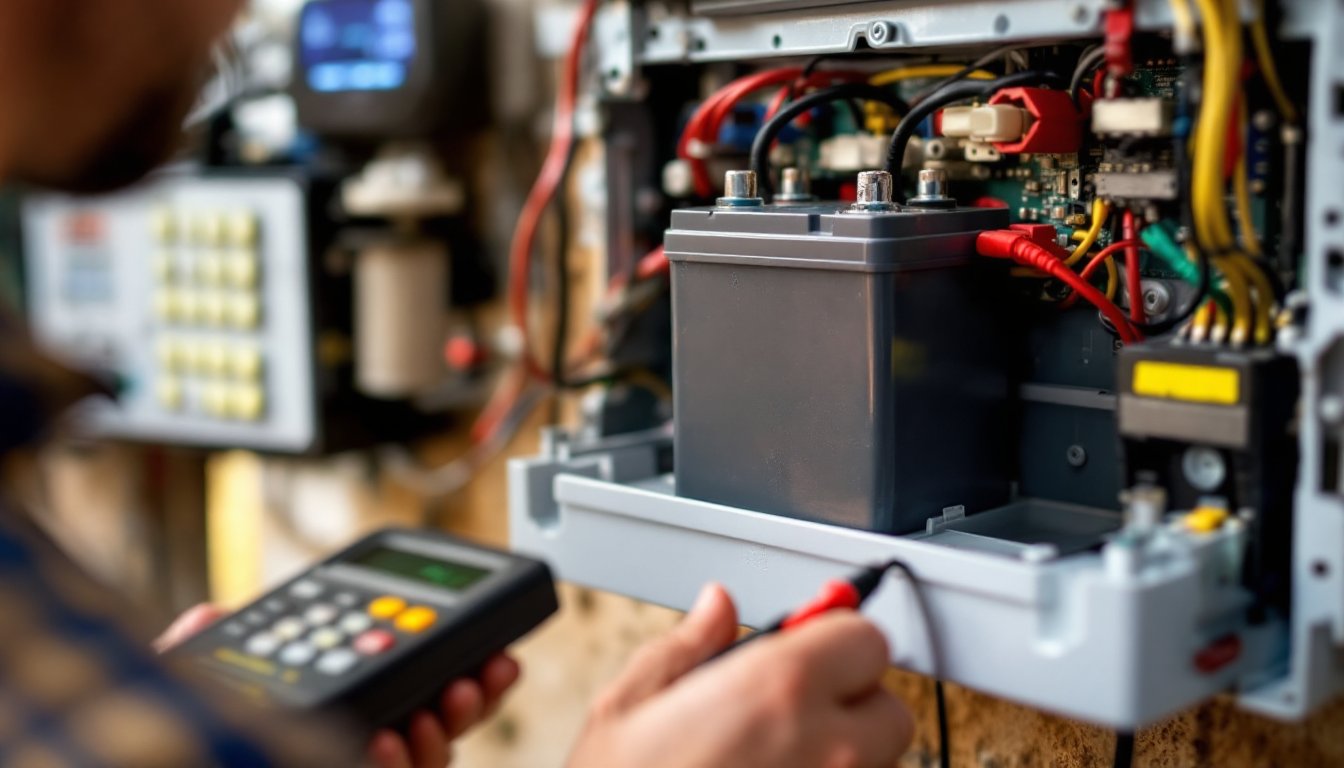
Backup Power
A battery backup module keeps the hub operational during power outages. This is critical for reliability. Cost: $30–$60.
Total starter kit cost typically ranges from $300–$800, depending on coverage and features. Compare kits on DIY home security system reviews before committing.
Setting Up Your Self-Monitoring System
Installation is straightforward but requires attention to detail.
-
Choose your hub location. Mount it centrally and within range of your Wi-Fi. A closet, utility room, or kitchen cabinet is ideal, somewhere accessible but not immediately visible to an intruder.
-
Set up Wi-Fi and cellular connectivity. Connect the hub to your home network using the manufacturer’s app. Most systems automatically activate a cellular backup connection for redundancy.
-
Install entry sensors. Measure and mount door/window sensors on the frame and moving part. Align the magnet carefully, even 1/2 inch of misalignment can cause false alarms. Use the adhesive strips provided: drilling is optional.
-
Place motion detectors. Mount them 5–6 feet high in corners or high-traffic areas. Avoid pointing them at windows or heating vents, which can trigger false positives. Test each sensor using the app before finalizing placement.
-
Mount cameras if included. Position outdoor cameras to cover entry points and driveway. Ensure they’re protected from rain and direct sunlight, which reduces image quality.
-
Configure automation and alerts. Set your system to arm/disarm on a schedule, tie it to your mobile app, and test notifications. Many systems integrate with smart home technology platforms for deeper automation.
-
Perform a full system test. Trigger each sensor and confirm alerts arrive on your phone. Walk through disarming sequences to ensure you can respond quickly if needed. Repeat the test after a few days to catch any connectivity issues.
Skip this testing phase, and you risk discovering a faulty sensor during an actual intrusion. Take two hours upfront to do it right.
Best Practices for Effective Home Monitoring
Once installed, treat your system as an active security tool, not a passive one.
Use armed and disarmed modes strategically. Arm the system when you leave or retire for the night. Use “Home” mode in the evenings so motion sensors don’t trigger on you moving around, but entry sensors remain active. Disarm only when expecting guests or service workers.
Regularly review footage and logs. Check your camera recordings weekly. Patterns emerge, a delivery driver who always approaches from the side, a neighborhood pattern of vehicles passing by. This awareness helps you spot actual threats.
Keep your app and hub firmware updated. Manufacturers release security patches. Enable automatic updates in your app settings so vulnerabilities don’t linger.
Test sensors monthly. Walk through a quick trigger test, open a door, wave near a motion sensor, to confirm everything’s responding. A dead battery or disconnected sensor offers zero protection.
Establish a response protocol. Decide in advance: if the alarm triggers at night, do you call police immediately or check cameras first? Communicate this plan with household members so everyone reacts consistently. Hesitation costs seconds that matter in a real break-in.
Maintain physical security. No alarm replaces a locked door or reinforced door frame. Pair your self-monitoring system with solid door locks and entry hardening for layered protection.
Self-Monitoring vs. Professional Monitoring: Which Is Right for You?
Self-monitoring suits you if:
- You’re home frequently or check your phone constantly.
- You want to avoid long-term contracts and lower your annual security costs.
- You’re comfortable making split-second decisions (call police, or wait for confirmation).
- You value customization and control over convenience.
Professional monitoring is better if:
- You travel extensively and can’t respond reliably to alerts.
- Your local police require a monitoring service to respond to alarms (some jurisdictions impose false-alarm fines for unmonitored systems).
- You want someone else bearing the liability of responding to emergencies.
- You’re willing to pay $300–$600 annually for that peace of mind.
Many homeowners choose a hybrid approach: use self-monitoring for daily living but upgrade to professional backup during extended travel. Some online alarm system platforms offer flexible add-on professional monitoring if your situation changes.
Check your local fire and police dispatch policies before installing. Some jurisdictions require a monitored system or charge false-alarm fines for unmonitored systems. A five-minute call to your local non-emergency line will clarify expectations. Reviews on CNET and other tech sites also cover jurisdiction-specific experiences with various systems.
Conclusion
A self-monitoring alarm system gives homeowners direct control, lower costs, and the flexibility to respond on their own terms. With proper installation, regular testing, and honest assessment of your ability to respond to alerts, self-monitoring provides solid protection for most households. If the responsibility feels overwhelming or your circumstances demand 24/7 professional oversight, professional monitoring remains a valid option. Either way, the goal is the same: a secure home and genuine peace of mind.