A dead alarm system battery won’t trigger when you need it most, and you might not realize it until there’s a problem. Most home security systems rely on backup batteries to keep functioning during power outages, but these batteries degrade over time and lose their charge-holding ability. Replacing your alarm system battery is straightforward DIY work that takes 15 to 30 minutes and requires no special skills. This guide walks you through the process, explains why replacement matters, and covers the mistakes most homeowners make.
Table of Contents
ToggleKey Takeaways
- Alarm system battery replacement is a straightforward 15-30 minute DIY task that requires no special skills and keeps your security system functional during power outages.
- Most alarm system batteries degrade within 3 to 5 years due to constant charging and discharging cycles, making proactive replacement more reliable than waiting for warning signs.
- Identifying the correct battery model and voltage is critical—using the wrong battery can prevent your system from functioning and may damage the circuit board.
- Follow the step-by-step process carefully: disarm your system first, locate and disconnect the old battery, install the new one with correct terminal polarity, and test to confirm normal operation.
- Avoid common mistakes like forgetting to disarm, reversing positive and negative terminals, or leaving the connector loose, which can trigger false alarms and system failures.
- Mark your battery installation date and schedule replacement every 4 years as part of routine home maintenance to prevent unexpected security gaps.
Why Alarm System Batteries Need Regular Replacement
Alarm system batteries serve as the system’s lifeline during power failures. When the main electrical supply cuts out, whether from a storm, accident, or grid issue, the backup battery kicks in to keep sensors armed, communication active, and alerts functioning. Unlike batteries in toys or flashlights that you might replace once a year, alarm batteries work constantly, charging and discharging in small cycles every time your AC power fluctuates. This repeated cycling degrades the battery’s chemistry, reducing its ability to hold a charge. Most alarm batteries last 3 to 5 years before capacity drops below safe levels. Some systems alert you to battery degradation through low-battery signals or warning lights, but not all do, which is why proactive replacement on a schedule beats waiting for failure. Regular replacement ensures your system stays protective whether you’re home, asleep, or away.
Signs Your Alarm Battery Is Failing
Watch for these warning signs that your battery needs replacing soon:
• Low-battery alert light or chirp: Many systems emit a brief beep or flash a red light when the battery drops below 20% capacity. This is your system telling you to act within the next week or two.
• Slow panel response: If the keypad feels sluggish or takes longer than usual to register button presses, low battery voltage may be the culprit.
• Backup power failures: If the system doesn’t maintain power during a brief outage, the battery isn’t holding charge anymore.
• Age: If your battery is over 4 years old, plan replacement now, don’t wait for failure.
• Rust or corrosion on terminals: Physical damage or leakage means the battery is dying and must be replaced immediately for safety.
If you haven’t had your battery tested in over a year, schedule a replacement during routine seasonal maintenance. Many professionals recommend checking battery date codes in spring and fall.
Choosing The Right Replacement Battery For Your System
Alarm system batteries come in a handful of common sizes, and using the wrong one can prevent your system from functioning. The most important step is finding out what battery type your system uses.
How to identify your battery type:
Open your alarm panel or console, instructions are usually in your owner’s manual or on the manufacturer’s website. Look for a label or spec sheet that lists the battery model number and voltage. Common alarm batteries include 12V sealed lead-acid, 6V sealed lead-acid, or lithium varieties, depending on your system brand.
Once you have the model number, verify the exact replacement part by checking your system manual or contacting your security company. Avoid guessing, buying a similar-looking battery that doesn’t match voltage or connector type will leave your system unprotected.
Where to buy: Security retailers, hardware stores, and online electronics suppliers stock most standard alarm batteries. OEM (original equipment manufacturer) parts from your system’s brand cost slightly more but guarantee compatibility. Third-party replacements work fine if specs match exactly, just double-check voltage, amp-hour rating, and connector type before purchase.
Step-By-Step Battery Replacement Guide
Follow these steps to safely swap out your old battery:
Materials and tools you’ll need:
• Replacement battery (correct model and voltage)
• Small screwdriver (flathead or Phillips, depending on your panel)
• Flashlight or headlamp
• Notepad to record system codes or disarm information
• Gloves (optional, but helpful for grip)
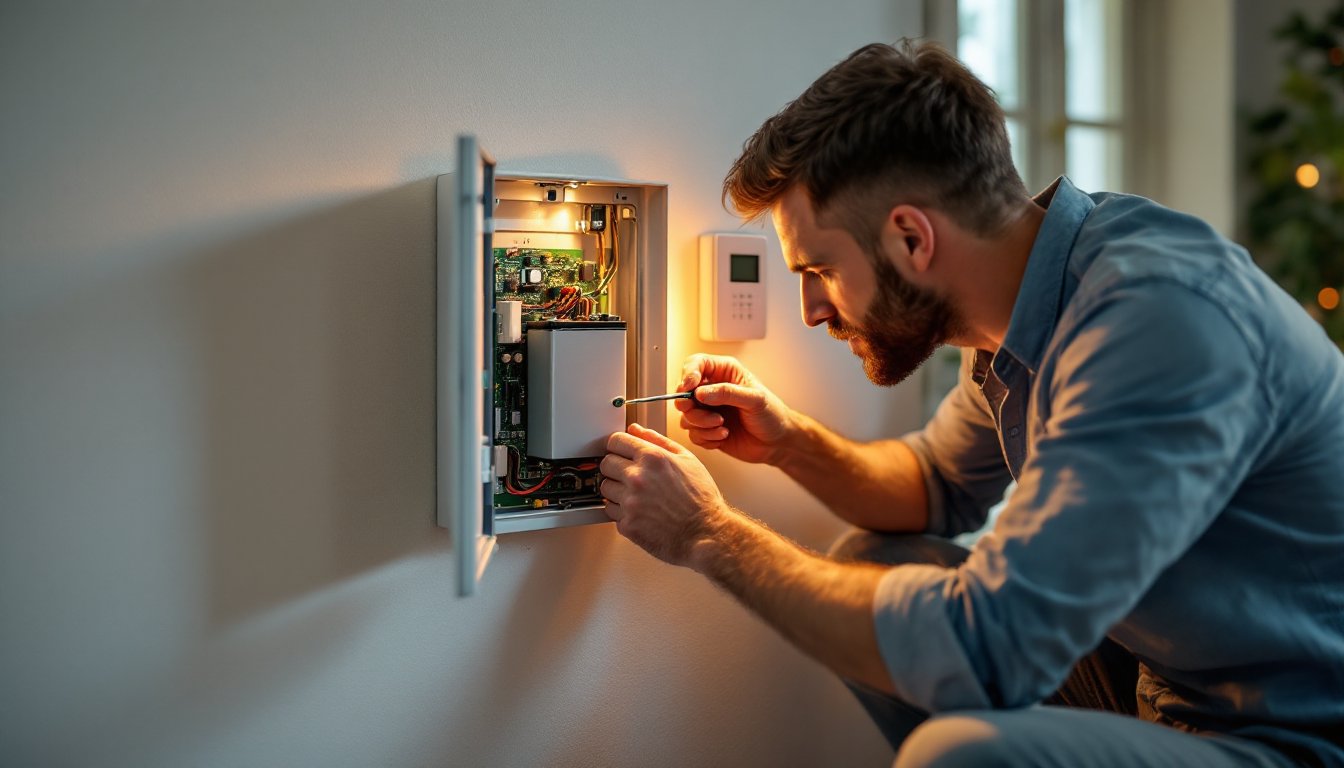
Step 1: Disarm your system and note your backup codes. Before you open anything, disarm your alarm using your PIN or keypad. Write down any important system information, your installer’s phone number, your account number, and your disarm code, in case the system resets. Prop open the panel or have a helper hold it if the lid has a tether.
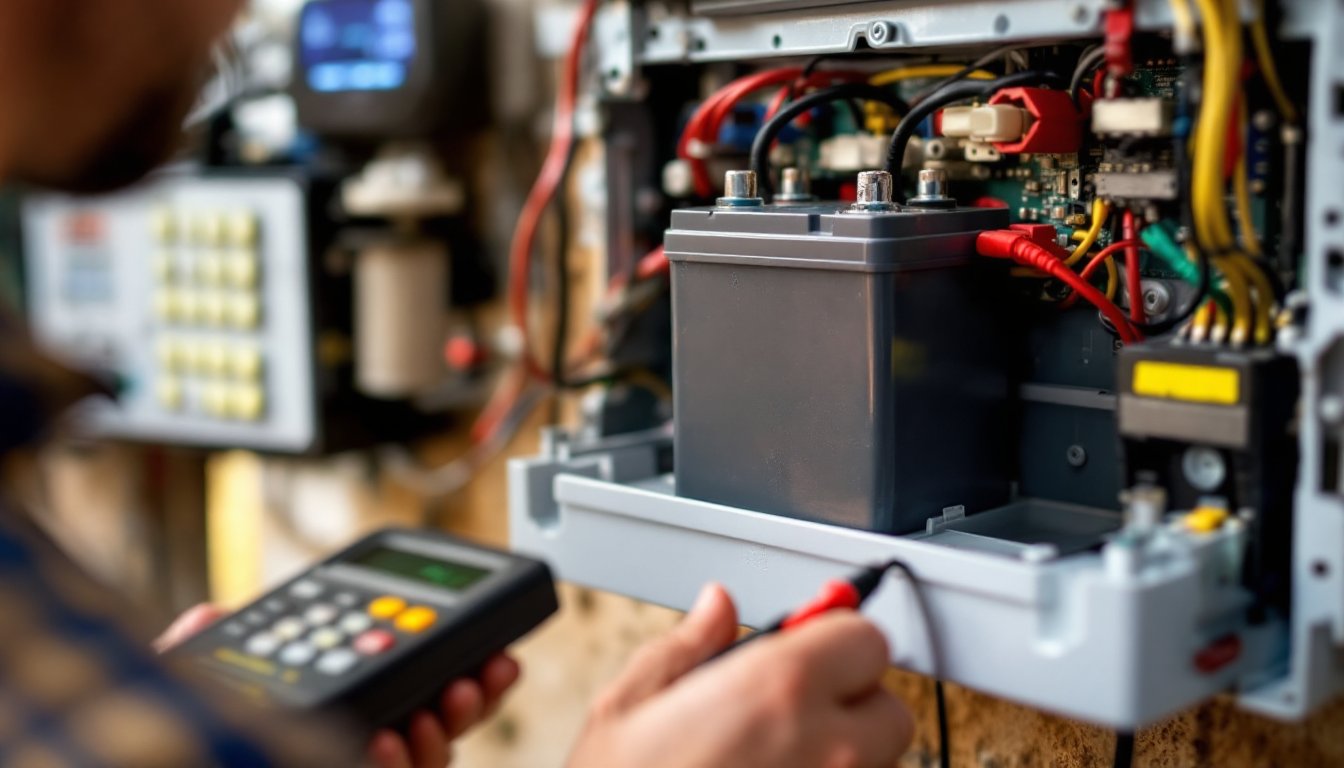
Step 2: Locate the battery connector. Inside your panel, find the battery, it’s usually a rectangular box mounted near the bottom. Trace the two wires (typically red for positive, black for negative) from the battery to the connector block on the circuit board. Get a good look at how they’re plugged in.
Step 3: Disconnect the old battery. Gently pull the connector straight away from the battery terminals. Don’t yank on the wires: grip the plastic connector itself. This prevents loose connections or damaged terminals that could cause problems later.
Step 4: Physically remove the old battery. Depending on your panel design, the battery either sits in a slot, is held by a bracket, or slides out. Look for mounting screws or clips and remove them if present. Lift the old battery out carefully, even dead batteries can be heavy.
Step 5: Install the new battery and reconnect. Place the new battery in the same position and secure it with the original mounting hardware. Align the red and black wires with the correct terminals (red to positive, black to negative) and push the connector firmly onto the terminals until you hear or feel a click.
Step 6: Test the system. Close your panel and wait 30 seconds for the system to initialize. Arm and disarm the system a few times to confirm normal operation. The low-battery light should be off. If you see warnings, double-check the connector and battery orientation.
Most replacements take 20 to 30 minutes start to finish. Resources like DIY repair tutorials can provide visual guides for your specific alarm brand if you need extra confidence before starting.
Common Mistakes To Avoid During Replacement
Skip these pitfalls and your replacement will go smoothly:
Forgetting to disarm first. Open a live alarm panel without disarming, and you might trigger an alarm call to your monitoring center. Always disarm using your PIN first.
Swapping positive and negative terminals. Red wires connect to the positive (+) terminal: black to negative (−). Reversing them will prevent the system from powering on. Double-check before pushing the connector home.
Buying the wrong battery. A similar-looking battery with different voltage or amp-hour rating won’t hold the right charge and may damage your circuit board. Verify the exact model number from your manual or system label.
Leaving the connector loose. A loose connection causes intermittent power loss and false alarms. Push the connector firmly until it seats completely.
Ignoring manufacturer disassembly notes. Some panels have clips or safety latches, respect them. Force can snap plastic parts or disconnect live circuits.
Failing to test after replacement. Arm and disarm a few times to confirm everything works. If the system acts oddly, power down and recheck the connection. Home maintenance checklists often include reminders to test backup systems after maintenance.
Maintaining Your New Battery For Longevity
Once installed, your new battery will last longest if you follow basic maintenance habits:
Keep the panel in a cool, dry location. Batteries degrade faster in hot attics or damp basements. If your alarm panel is in a harsh environment, consider relocating it or improving ventilation around it.
Avoid power cycling your system unnecessarily. Turning the system on and off frequently stresses the battery. Use the disarm function instead of powering down.
Check the low-battery light annually. Set a calendar reminder to listen for warning chirps and watch the indicator light each spring and fall. Catching degradation early prevents surprise failures.
Keep terminal connections clean. Corrosion at the connector slows power delivery. Wipe the terminals with a dry cloth if you notice discoloration.
Mark replacement dates. Write the installation date on the battery with permanent marker, or set a phone reminder for 4 years later. This simple habit ensures you don’t forget.
When you notice warning signs again in 3 to 5 years, you’ll know the routine and can handle the next replacement with confidence. Experts recommend treating battery replacement as part of your annual home improvement advice schedule, like checking smoke detectors and testing sump pumps.
Conclusion
Replacing your alarm system battery is a quick, affordable DIY task that keeps your security system ready when you need it most. Identify your battery type, gather the right tools, follow the step-by-step process, and test afterward, you’ll have a fresh backup power source in under an hour. Don’t wait for a low-battery warning to act: proactive replacement every 3 to 5 years prevents gaps in protection. Your home’s safety depends on it.