A driveway alarm is one of the simplest home security upgrades you can install yourself, no electrician required. Whether you’re protecting your property from unexpected visitors, monitoring a rental entrance, or just wanting a heads-up when a package arrives, a driveway alarm keeps you informed without the complexity of a full security system. The market has shifted dramatically since the days of basic door chimes. Modern driveway alarms range from affordable wireless motion sensors to sophisticated magnetic gate detectors, and most homeowners can have one running in under an hour. This guide walks you through the options, explains what actually matters when picking one, and shows you how to get it installed.
Table of Contents
ToggleKey Takeaways
- A driveway alarm is an affordable, self-installable security upgrade that uses motion sensors or magnetic switches to alert you when someone approaches your property without requiring a permit or electrician.
- Wireless motion-sensor alarms detect body heat and movement with 20–40 foot range, while magnetic gate sensors offer precise contact-specific alerts and lower battery drain, making both suitable for different security scenarios.
- Proper installation requires mounting the sensor 4–6 feet high on a fence, wall, or pole angled downward, ensuring weatherproof IP65+ housing and testing sensitivity to reduce false alarms from vehicles or animals.
- Key features to prioritize include detection range performance in your specific environment, weather resistance ratings, quiet receiver placement with adequate chime volume, and easy battery replacement without tools.
- Driveway alarms prove their value within the first month by providing passive, decision-free security alerts and should be tested thoroughly after installation and serviced seasonally for reliable long-term performance.
What Is a Driveway Alarm and How Does It Work?
A driveway alarm is a motion-detection or magnetic sensor system that triggers a chime or alert when someone approaches your property. The basic setup consists of two parts: a sensor unit placed near the driveway entrance and a receiver plugged into an outlet inside your home. When motion or magnetic contact occurs, the sensor sends a wireless signal to the receiver, which plays a tone or light alert.
The appeal is straightforward. Unlike video cameras, driveway alarms don’t require internet, subscriptions, or complicated app setup. They’re passive alerts, you hear a chime and decide what to do next. Most models are battery-powered sensors that don’t draw power from your home’s electrical system, making them a quick retrofit for any property. Motion-triggered versions detect heat signatures or body movement: magnetic sensors respond only when a gate or door opens. Different situations call for different triggers, which is why understanding the difference matters before you buy.
Types of Driveway Alarms Available
Wireless Motion-Sensor Alarms
These are the workhorses of driveway security. A wireless motion-sensor alarm uses passive infrared (PIR) technology to detect body heat and movement. When someone walks past the sensor, it triggers the indoor chime. Most units offer adjustable sensitivity to reduce false alarms from passing vehicles or animals. Look for models with a detection range between 20–40 feet and weatherproof housings rated IP65 or higher, this rating ensures the sensor survives rain, dust, and temperature swings.
Wireless options typically run on 4 AA or 9V batteries and last 6–12 months depending on trigger frequency. The receiver stays plugged into a standard outlet indoors and often includes dimmable volume controls and mode selections (alert on motion, alert on entry, silent mode). Leading reviewers like CNET evaluate home security products regularly, so checking current comparisons helps you see which models are holding up in real-world use.
Magnetic Gate and Driveway Sensors
Magnetic sensors use a magnet-and-reed-switch design. When a gate, door, or garage door opens, the magnet separates from the reed switch, triggering an alert. These are more precise than motion sensors, they only trigger on specific entry points, not ambient movement. This makes them ideal for monitored gates or entry doors where false alarms from passing animals would be annoying.
Magnetic sensors consume less battery power than PIR models and typically last 12–18 months on batteries. Installation is simpler too: you mount the magnet on the moving part (gate, door) and the switch unit on the frame. The trade-off is that they’re contact-specific, they won’t alert you to someone approaching on foot if they bypass the gate entirely. Combining both types (motion for the perimeter, magnetic for gates) gives you layered detection.
Key Features to Consider When Choosing a Driveway Alarm
Range and sensitivity matter more than advertised specs. A sensor claiming 40 feet of range might perform differently depending on ambient light, mounting height, and whether shrubs or objects block the sensor’s view. Outdoor sensors work best when mounted 4–6 feet high on a pole or wall, angled slightly downward. Test the unit’s detection radius during installation by walking past it to confirm it triggers consistently.
Weather resistance is non-negotiable. Your sensor will face rain, sun, and temperature swings. Confirm the IP65 or IP67 rating before purchasing, IP65 means dust-tight and protected against water jets: IP67 adds submersion resistance. Check if the housing is polycarbonate or metal, and whether the battery compartment seals properly. A cheap plastic sensor left in direct sun for a year won’t function reliably.
Receiver placement affects usability. Most plug-in receivers have a 100–300 foot wireless range indoors. Before buying, think about where you’ll keep the receiver, kitchen, bedroom, or garage, and whether the chime volume is loud enough to hear from there. Some models let you add multiple receivers in different rooms for about $20–40 extra. Others support app notifications via Wi-Fi, though this requires a hub and sacrifices the simplicity that makes driveway alarms appealing.
Chime options and customization vary widely. Basic models offer one beep pattern: better ones include adjustable volume, multiple tone choices, and visual alerts (LED flash). If you’re a light sleeper, a silent mode with just the LED might suit you better than audio alerts.
Battery accessibility sounds minor but matters during monthly checks or replacements. Some sensors have battery compartments on the back: others require disassembling the unit. Look for designs where you can replace batteries without tools or removing wall-mounted hardware. Most quality sensors alert you with a low-battery indicator before they die.
How to Install and Set Up Your Driveway Alarm
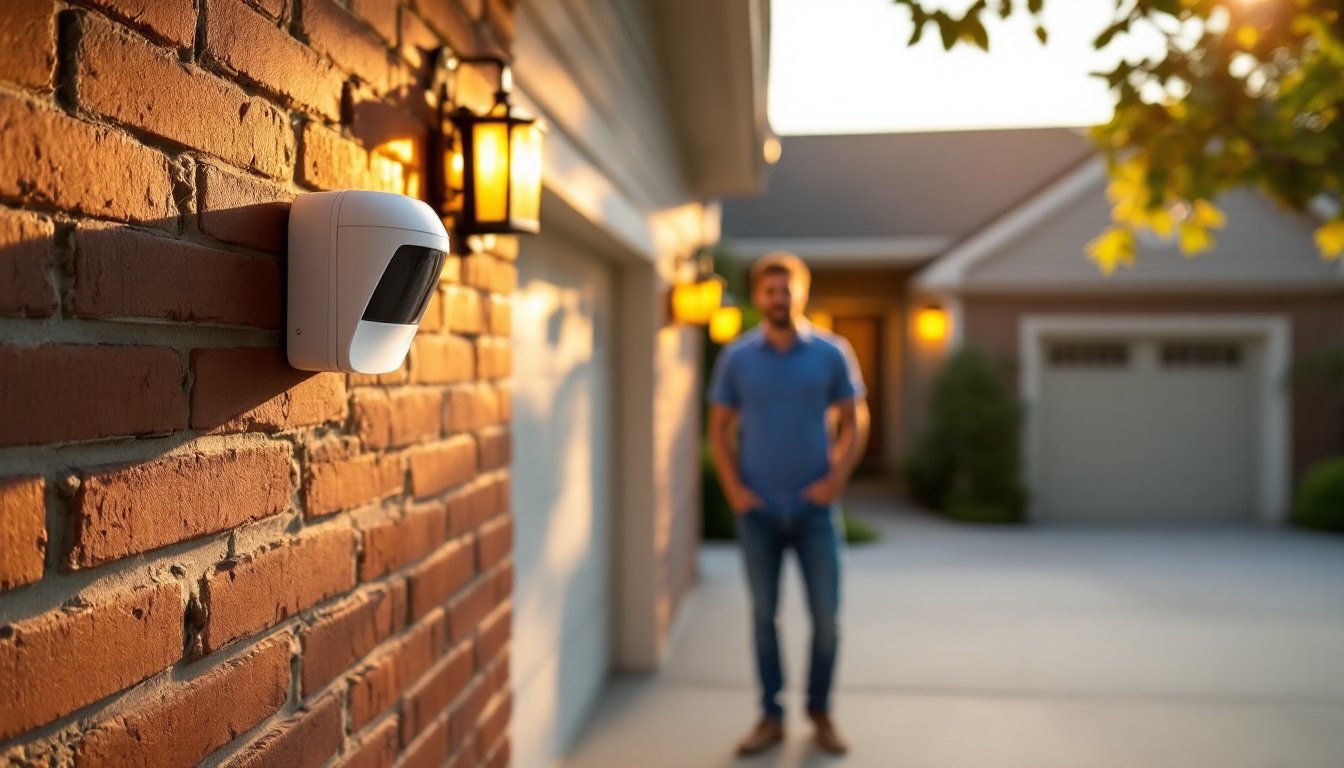
Step 1: Choose the sensor location. Pick a spot near your driveway entrance where anyone approaching will pass within range. Ideal locations are on a fence post, garage wall, or shed, 4–6 feet high and angled downward. Avoid placing sensors directly facing bright sunlight or heat sources (like air conditioning units), as these cause false triggers.
Step 2: Install the sensor mount. Most sensors come with a simple bracket secured by 2–3 screws. Use a drill and anchor bolts if mounting on brick or concrete: wood studs or fence posts take standard wood screws. Ensure the mount is level and faces the approach route. Check that nothing blocks the sensor’s lens, trim back branches or move objects that obstruct the detection area.
Step 3: Install batteries. Insert the specified battery type (4 AA or 9V, depending on the model) into both the sensor and receiver. Some units have a pairing mode you activate by holding a button for a few seconds. Refer to the manufacturer’s guide, most modern wireless sensors pair automatically within a certain range.
Step 4: Test and adjust. Plug the receiver into an outlet indoors. Walk past the sensor at various angles and distances to confirm it triggers consistently. If you’re getting false alarms from passing cars or animals, most sensors include a sensitivity dial, turning it down requires closer or faster motion to trigger. Find the sweet spot between reliable detection and false-alarm reduction.
Step 5: Weatherproof connections. Inspect the battery compartment seal to ensure it’s clean and tight. Some users apply a bead of silicone caulk around the battery cover edge for added weatherproofing, but keep it away from the lens. Leave the sensor mounted and monitor it for a week, adjust position or sensitivity if needed.
No permit required for driveway alarm installation since these are portable, non-structural upgrades. Unlike hardwired security systems, they don’t need electrician approval or building permits. Your main responsibility is ensuring the installation doesn’t damage the structure (use proper anchors and don’t drill into load-bearing studs without reason).
Conclusion
A driveway alarm is an affordable, installable-yourself security layer that doesn’t demand a contract or complicated setup. Whether you opt for a motion-sensor model to catch approaching visitors or a magnetic gate sensor for pinpoint accuracy, the key is matching the sensor type to your property layout and then installing it at the right height and angle. Check product reviews on Digital Trends for recent comparisons and real-world performance data. Test your installed system thoroughly before assuming it’s working perfectly, and replace batteries at the start of each season to avoid surprises. Most driveway alarms prove their worth within the first month, that peace of mind alone justifies the modest investment.