Home security has changed. Gone are the days of bulky keypads and clunky control boxes scattered throughout the house. A HomeKit alarm system lets you arm and disarm your security setup right from your iPhone, iPad, or Apple Watch, and it integrates seamlessly with the rest of your smart home. Whether you’re concerned about break-ins, window sensors, or motion detection, HomeKit offers a streamlined way to monitor and control everything from a single ecosystem. If you’ve invested in Apple’s ecosystem and want security that actually talks to your other smart devices, understanding what a HomeKit alarm system can and can’t do is your first step toward real peace of mind.
Table of Contents
ToggleKey Takeaways
- A HomeKit alarm system lets you monitor and control your home security from your iPhone, iPad, or Apple Watch through a unified app without requiring professional installation.
- HomeKit devices require a hub—such as an Apple TV 4K, HomePod, or HomePod mini—to enable remote access and automations across your smart home ecosystem.
- You can set up an entry-level HomeKit alarm system for $200–$300 with basic sensors and a hub, then expand coverage later without long-term contracts or monthly monitoring fees.
- HomeKit automation rules eliminate manual arming by letting you automatically trigger security actions, lights, and locks based on events like departing the house or detecting motion.
- End-to-end encryption and local control ensure your security data stays private and your system continues functioning during internet outages as long as your hub remains powered.
- The main trade-off is that HomeKit relies on your responsiveness to notifications rather than 24/7 professional monitoring, making it ideal for homeowners already invested in Apple’s ecosystem who prioritize privacy and integration.
What Is a HomeKit Alarm System?
A HomeKit alarm system is a collection of smart security devices, door sensors, window contacts, motion detectors, and a hub, that work together within Apple’s HomeKit framework. Unlike traditional alarm systems that operate independently, HomeKit devices communicate through HomeKit-certified hub hardware (typically an Apple TV 4K, HomePod, or HomePod mini) to give you remote access and automation.
These systems aren’t monitored by a professional 24/7 security company by default. Instead, HomeKit sends you notifications to your phone when doors open, motion is detected, or alarms trigger. You can set automations, for example, “lock all doors and arm the alarm when the last person leaves”, without paying for professional monitoring. That said, HomeKit does support professional monitoring through third-party services if you want that extra layer.
What makes HomeKit different from a wired home alarm system or a hybrid setup is its focus on integration. Your security devices work alongside smart lights, locks, and cameras in one app, meaning you can create sophisticated automations that involve multiple device types.
Key Features and Benefits
HomeKit alarm systems offer several practical advantages for homeowners who already own Apple devices or are building a smart home ecosystem.
Real-time notifications arrive instantly on your phone, Apple Watch, or iPad when a door or window opens, motion is detected, or an alarm is triggered. You see exactly which sensor fired and when, so you’re not guessing about what happened while you were away.
Automation rules let you skip the “remember to arm the system” problem. Set your alarm to automatically arm at night or when the last person leaves the house. You can also trigger other devices, like turning on lights, unlocking doors, or activating cameras, based on alarm events.
End-to-end encryption is built into HomeKit communication. Your security data isn’t stored on Apple servers by default: it stays encrypted, and only your approved devices can access it. That matters if you’re uncomfortable handing alarm data to a third-party monitoring service.
Local control and cloud backup mean your system keeps working even if the internet drops, as long as your HomeKit hub (Apple TV, HomePod, or HomePod mini) is on your local network. If the hub loses internet, automations pause, but basic local control continues. For redundancy and remote access, HomeKit syncs to iCloud, so you can control things from anywhere.
Apple Home Integration and Control
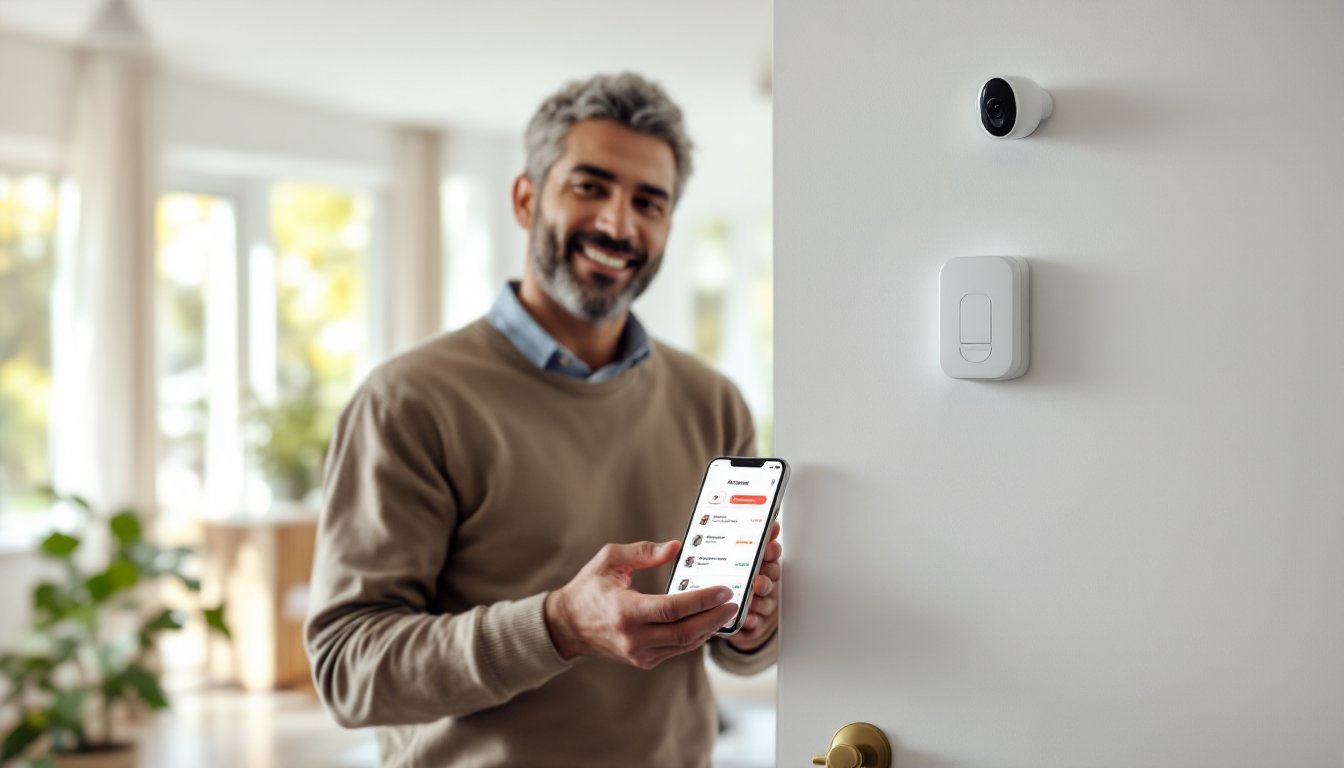
The real strength of HomeKit isn’t just the sensors: it’s how they integrate into the Apple Home app ecosystem. Once you add compatible devices, they appear as tiles in the Home app on all your Apple devices. You can view the status of every door and window at a glance, get alerts when specific sensors trigger, and arm or disarm the whole system with one tap.
You can also set up scenes, preset configurations that run multiple actions at once. For example, a “Leaving Home” scene could arm the alarm, lock all doors, close the garage, and turn off interior lights. An “Arriving Home” scene could disarm the alarm, unlock the front door, and turn on entry lights.
Apple’s voice assistant, Siri, works with HomeKit alarms too. You can say “Hey Siri, arm the alarm” or “Hey Siri, is the front door locked?” to check status or control devices hands-free. That convenience saves time, especially if you’re carrying groceries or just woke up.
Getting Started: Installation and Setup
Installing a HomeKit alarm system is more DIY-friendly than traditional hardwired security, since most devices are wireless and battery-powered. You don’t need an electrician or to run cables through walls.
First, choose a HomeKit hub. You need an Apple TV 4K (3rd gen or newer), HomePod, or HomePod mini connected to your home network. The hub acts as a relay, letting you control and receive notifications from HomeKit devices when you’re away. If you don’t have a hub, HomeKit alerts won’t work remotely, and automations won’t run while you’re gone.
Next, decide which sensors and devices you need. Door and window contact sensors are the foundation, they detect when entry points open or close. Motion detectors add another layer, triggering alerts if someone moves through a monitored area. Keypads let family members disarm the system without a phone. Look for HomeKit-certified products: the badge means they meet Apple’s security and encryption standards.
Installation is straightforward: Mount door sensors on your main entry points and frequently-used windows. Window sensors stick to the frame: the magnet attaches to the sash or door edge. Motion detectors mount high on a wall, usually 6–8 feet up, pointed at a hallway or main room where an intruder would likely pass. Avoid pointing them directly at heat sources like fireplaces or radiators, which can trigger false alarms.
Place your hub in a central location, ideally wired via Ethernet for the most stable connection, though Wi-Fi works if necessary. Then, add each device to the Home app by scanning its HomeKit code (usually on a sticker on the device). Follow the in-app prompts to assign the device to a room and name it clearly (“Front Door,” “Bedroom Window,” etc.).
Battery-powered sensors typically last 1–2 years depending on activity. Mark replacement dates in your calendar, and consider a motion detector alarm system if you want a more comprehensive setup that includes additional detection types.
Cost Considerations and Equipment Options
HomeKit alarm systems are generally more affordable than professionally monitored services, but costs add up depending on your coverage goals.
Entry-level setup: A HomePod mini (~$99), two or three door sensors (~$25–$40 each), and a motion detector (~$40–$60) costs roughly $200–$300 upfront. That covers basic perimeter monitoring and gets you started with HomeKit automation.
Mid-range setup: Add more sensors for every window and door, a keypad for convenient disarming, and a smart lock. Expect to spend $500–$800 depending on home size and the brands you choose (Eve, Level Lock, and Nanoleaf all make HomeKit-certified products).
Premium setup: A fully-featured system with comprehensive window and door coverage, multiple motion detectors, a doorbell camera, and professional monitoring integration can exceed $1,500. Note that professional HomeKit monitoring through services like Alarm.com or similar third-party providers adds $10–$30 per month.
One advantage of HomeKit: you buy devices as you can afford them. Start with core entry points, then add sensors to secondary windows or rooms later. Your system grows without forcing a huge upfront expense.
Compare HomeKit pricing to wired home alarm systems, which often require professional installation (adding $500–$1,500 labor) but may offer longer sensor battery life. HomeKit’s flexibility and no-subscription baseline make it attractive for budget-conscious homeowners, though local alarm installation services can still be worth consulting if you want a hybrid approach.
Common Challenges and Troubleshooting
HomeKit alarm systems work well once set up, but a few common issues trip up new users.
Lost hub connection is the most frequent problem. If your Apple TV, HomePod, or HomePod mini loses power or network access, HomeKit automations pause, and you can’t access your system remotely. Fix: Keep your hub plugged in, use a UPS battery backup if you live in an area with power issues, and connect it via Ethernet for stability. Check the Home app settings to confirm the hub status, it should show a green checkmark.
Delayed notifications can happen if your home Wi-Fi is overloaded or your hub is far from sensors. HomeKit sensors communicate via Bluetooth to the hub, so range matters. If a sensor is too far away (beyond 30–50 feet, depending on walls and obstacles), signals weaken. Solution: Move the hub to a more central location, or add a HomePod mini in a room far from the main hub to extend range.
False alarms from motion detectors occur when pets set them off or when pets trigger automation-based alarms. Adjust detector sensitivity, position them to avoid pet movement zones, or create exclusions for specific times (like when you know the dog is loose).
Sensor batteries dying silently: HomeKit sends low-battery warnings, but easy to miss. Check each sensor quarterly and keep spare batteries on hand. Label batteries with the sensor name so replacements are quick.
For deeper troubleshooting, review underrated HomeKit features on Tom’s Guide, which covers advanced settings and diagnostic tools. If you want broader context on home security approaches, Digital Trends offers comparisons between smart and traditional systems. CNET also publishes in-depth reviews of individual HomeKit devices if you’re evaluating specific brands.
Conclusion
A HomeKit alarm system delivers practical, affordable home security for Apple users who want simplicity and integration over professional monitoring. You control it from your phone, automate it to fit your routine, and skip monthly service fees. The trade-off is that you’re responsible for checking notifications and deciding how to respond, there’s no 24/7 dispatch center. For most homeowners, that’s a fair deal, especially when starting small and expanding as needed. If you’re already in the Apple ecosystem, a HomeKit setup makes sense. If professional monitoring is your priority, explore home alarm archives or online alarm systems for alternatives.