Installing your own security alarm system is simpler than you might think, especially with the technology available today. Whether you’re protecting a small apartment or a sprawling house, understanding the basics of security alarm system installation can save you hundreds in professional installation fees while giving you full control over your setup. This guide walks you through the process step by step, from choosing the right system type to testing everything before you arm it for the night. You’ll learn what tools matter, where to place sensors for maximum coverage, and how to avoid the common pitfalls that leave gaps in your home’s defenses.
Table of Contents
ToggleKey Takeaways
- Security alarm system installation can be completed as a DIY project, saving hundreds in professional fees while giving you full control over your setup’s design and components.
- Choose between wired systems (rock-solid reliability with no batteries) and wireless systems (easier installation, faster setup, but require battery management) based on your home’s accessibility and your tolerance for infrastructure work.
- Proper sensor placement is critical—install one sensor per exterior door and accessible ground-floor window, mount motion detectors 8–10 feet high, and position your control panel centrally near your main entry at eye level for daily use.
- Most wireless sensor batteries last 2–5 years; set calendar reminders to check batteries twice yearly and use quality batteries to avoid unpredictable failures that compromise your security system’s reliability.
- Test your security alarm system weekly for the first month after installation and monthly thereafter, verifying that alerts reach your phone or monitoring service to ensure complete coverage and quick response.
Understanding Security Alarm System Types and Components
Before you buy a single sensor, you need to know what kind of system makes sense for your home. A security alarm system works by creating a network of sensors that detect entry points and motion, feeding signals to a central control panel. That panel then alerts you, a monitoring service, or both. Your choice of system type shapes everything that comes next, installation difficulty, cost, flexibility, and how easily you can add components later.
Wired Versus Wireless Systems
Wired systems use hardwired door and window sensors connected by cables running through your walls to the control panel. They’re rock-solid once installed, no batteries to replace, no signal dropouts, and older systems have decades of proven reliability. The catch: running cables through walls means potentially opening drywall, threading conduit, and dealing with retrofitting challenges in finished homes. Wireless systems, by contrast, use battery-powered sensors that communicate via radio frequency to the control panel. You mount them with adhesive strips or small brackets, no drilling required. They’re faster to install and easier to relocate, but you’re managing batteries and need to ensure your system frequency doesn’t conflict with your Wi-Fi or other electronics.
Most DIY homeowners today lean toward wireless because they don’t require the infrastructure work. But, if you’re building or have planned wall access, wired systems offer some advantages in reliability and zero maintenance. Hybrid home security systems combine both approaches, wired perimeter sensors for entry points and wireless motion detectors inside, giving you flexibility without reinventing your installation.
Assessing Your Home’s Security Needs Before Installation
Don’t install a system that doesn’t match your home’s actual vulnerabilities. Start by mapping your entry points: all exterior doors, ground-floor windows, sliding glass doors, and any attic or basement access. Walk around your property as if you’re a burglar, where’s the easiest way in? Now prioritize. Entry doors and first-floor windows are critical: upper-story windows and glass doors to decks are secondary unless they’re accessible via a structure or tree.
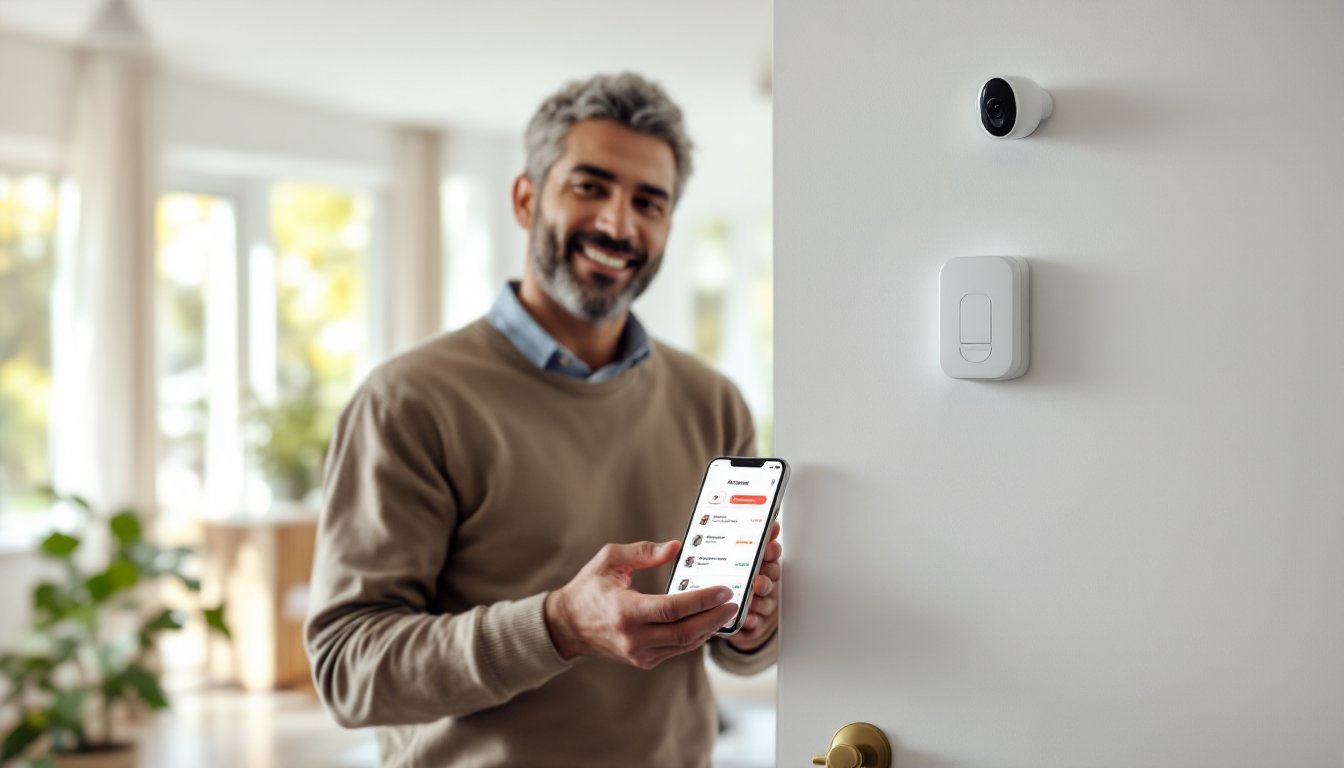
Think about lifestyle too. If you have kids or pets, motion detectors on the main floor will trigger false alarms unless they’re pet-immune models (they typically ignore movement under 40–60 pounds). If you live in an apartment, wireless is your only option. If you’re in an older home with plaster walls, running wires is destructive and expensive, wireless saves headaches. Consider whether you want professional monitoring (a service dispatches police if your alarm triggers) or self-monitoring through a phone app. Professional monitoring costs $20–40 monthly but requires professional installation on some systems: self-monitoring is free but puts the response burden on you. Local alarm installation: secure services can handle either path if DIY feels overwhelming, but knowing your needs helps you choose the right system size and feature set before you commit.
Essential Tools and Materials You’ll Need
For a wireless system installation, your toolkit is minimal. You’ll need:
• Drill with bits (for mounting wall plates and control panel)
• Phillips and flat-head screwdrivers (sensor and panel assembly)
• Stud finder (to locate secure mounting points for the panel)
• Measuring tape (spacing sensors correctly matters)
• Level (control panels should hang straight)
• Painter’s tape (mark sensor placement before committing)
• Wire strippers and small wire connectors (if your system uses any wired components like power supplies)
• Flashlight or headlamp (panel installation often happens in tight corners)
Materials depend on your system choice. A basic wireless package includes the control panel, 3–5 door and window sensors, a motion detector, a keypad, and batteries (usually AA or 9V). Most kits come with adhesive strips: buy heavy-duty 3M adhesive strips rated for the sensor weight if the kit’s strips feel flimsy, weak adhesive means sensors fall off when you bump them.
For wired systems, add 4-conductor alarm wire (about $0.25–0.50 per foot), wire staples or conduit, and a power supply for the control panel. If you’re drilling through studs, drywall anchors rated for the panel weight (typically 5–10 pounds) matter. Standard toggle bolts work in drywall: into studs, use 2.5-inch wood screws.
Safety gear: safety glasses (dust when drilling), work gloves (rough wire and fasteners), and if you’re drilling much, dust mask or respirator. Ear protection isn’t mandatory but makes drilling less annoying.
Step-by-Step Installation Process for DIY Homeowners
Planning Sensor Placement and Control Panel Location
Before you drill or stick anything down, plan. Print a floorplan or sketch your home by hand, marking all entry points. Now mark where you’ll place sensors. Standard practice: one sensor per exterior door, one per accessible ground-floor window. Sensors sit on the door frame (stationary part) with the magnet on the door itself, about 1 inch apart when closed. When the door opens, the magnet separates from the sensor, triggering an alert.
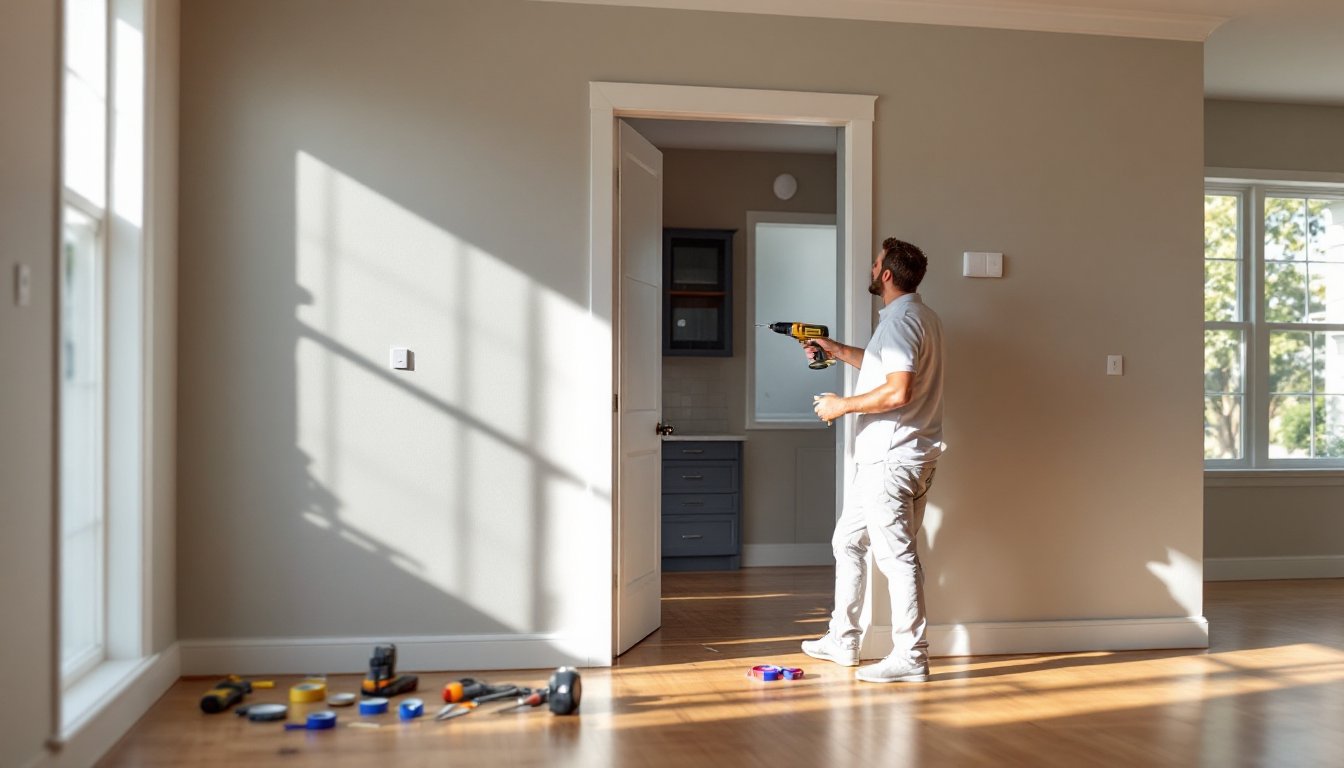
For the control panel, choose a central, visible spot, near your main entry is ideal because that’s where you’ll arm/disarm the system daily. Avoid high-traffic areas where you’ll bump it, and don’t hide it in a closet (you need to hear alerts). The panel should be at eye level (about 48–60 inches from the floor) for comfort, mounted on a stud if possible, or using heavy-duty drywall anchors rated for at least 10 pounds.
Motion detectors go on interior walls, usually in living areas and hallways. Mount them 8–10 feet high to maximize coverage and reduce false triggers from pets or curtains. Test placement by walking around, the detector should have a clear line of sight to likely traffic paths. Avoid corners (detection patterns are spotty), and don’t aim them directly at windows (sunlight can cause false triggers on cheaper models).
Once you’ve marked everything with painter’s tape, take a photo. If you change your mind later, you’ll remember the original plan.
Installation steps:
-
Mount the control panel. Drill holes into studs or use drywall anchors, then screw the mounting bracket securely. Connect the backup battery (usually plugs into the back) and the power adapter to the panel according to the manual. Plug the adapter into a standard outlet.
-
Install door and window sensors. Remove the adhesive backing from the sensor. Clean the surface with a dry cloth to remove dust and oils. Press the sensor firmly onto the door frame, holding for 30 seconds. Now mount the magnet on the door itself, aligned 1 inch away when closed. Double-check alignment by opening and closing the door, the magnet should stay parallel to the sensor.
-
Place motion detectors. Use the same adhesive method. Orient the detector as recommended (usually pointing down into the room). Some models have adjustable lenses: angle yours to cover the main traffic areas without facing windows directly.
-
Sync sensors to the panel. This varies by system, but most wireless panels have an “add sensor” or “pairing mode.” Follow your manual: put the panel in pairing mode, then trigger the sensor (open a door, walk in front of a motion detector) so the panel recognizes it. Each sensor gets a unique ID: this keeps your system from picking up a neighbor’s signals.
-
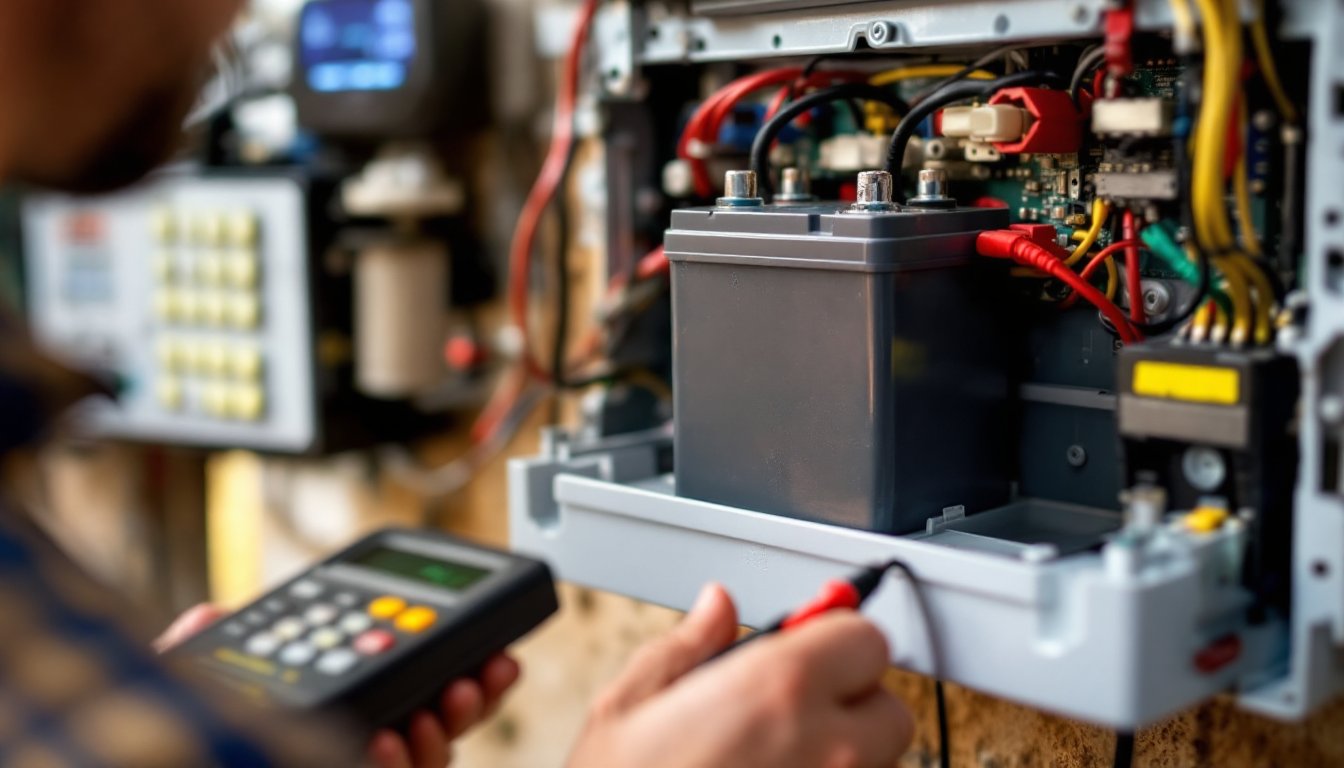
Test each sensor. Once paired, open a door, wait for the panel to register the alert. Repeat for windows and motion detectors. The panel should beep or display the triggered sensor’s name. If nothing happens, check battery level (a dead battery is the #1 culprit) and ensure the sensor is within range (typically 100+ feet, but walls and interference reduce range).
-
Set your code and arm the system. Use the keypad to set a 4–6 digit PIN. Most systems let you create multiple codes (one for you, one for a teenager, one for a cleaner, etc.). Choose a number that’s not your birthday or address. Now arm the system in “Away” mode and walk outside: the panel should show armed status. Disarm and arm again a few times to build muscle memory, fumbling with codes during an actual emergency is a bad time to learn the interface.
Testing, Monitoring, and Maintenance Tips
After installation, test your system weekly for the first month. Set it to arm, leave the house, then trigger a sensor (open a door, walk past a motion detector). Verify the alert reaches your phone or monitoring service. If you’re using professional monitoring, contact the company and tell them you’re testing, otherwise they’ll dispatch police for a false alarm.
Batteries are your biggest maintenance task. Most wireless sensors use AA or 9V batteries lasting 2–5 years depending on usage. Most panels alert you when battery voltage drops. Don’t wait until the alert, set a calendar reminder to check batteries twice yearly, usually when you change clocks for daylight saving time. Buy quality batteries: cheap ones fail unpredictably.
Keep your system manual and a list of sensor locations and codes somewhere accessible, your smartphone notes, a drawer, or a home inventory document you update yearly. If you move, a new owner might appreciate knowing how the system works. If you sell, some buyers value a pre-installed system, especially if you’ve got professional monitoring.
For wired systems, periodically inspect exposed wire for damage, especially where it passes through attics or basements. Rodents and wear can compromise connections. A quick visual check once yearly prevents surprises. Motion detector alarm systems and wireless setups need less maintenance, but don’t neglect them, test monthly and swap batteries as needed.
If your system stops responding, reboot the control panel by unplugging the power adapter and removing the backup battery for 30 seconds, then reconnecting. This fixes most glitches. If sensors won’t pair or arm fails repeatedly, consult the manufacturer’s troubleshooting guide or contact their support line. Many companies offer phone or chat support at no charge.